
Complete Guide to Projector Keystone Correction: Automatic & Manual Settings and Tips for Fixing Distortion
What is Keystone Correction? Why Does the Image Distort?
When a projector is positioned diagonally or vertically off-center from the screen or wall, the projected image appears trapezoidal. This is an optical phenomenon caused by light hitting the surface at an angle. Keystone correction digitally processes and corrects this distortion, shaping the image into a proper rectangle.
Types and Differences of Keystone Correction
🖐️ Manual Vertical Keystone Correction
Adjusts vertical distortion manually using the keystone correction button on the remote. This is the most common method. Supported by Aestiquo Q1, P1, and X26.
🔲 4-Point Correction
High-precision correction that allows individual adjustment of all four corners of the image. Suitable for diagonal projection and irregular setup environments. Supported by Aestiquo P1.
🤖 Auto Correction (Model-Dependent)
A function that automatically detects tilt using built-in sensors and applies correction. Please check each product page for compatibility.
📐 Digital Zoom
A function to adjust the projection size to fit the screen. Used in combination with keystone correction.
Keystone Correction Setup Procedure (Remote Control Operation)
Set up the projector and turn it on
Place the projector facing the desired wall/screen. Position it within the recommended projection distance.
Press the keystone correction button on the remote
Press the "Keystone Correction ± button" on the remote. Once the correction value appears on the screen, begin adjusting.
Adjust distortion with the ± buttons
If the top edge is wider, adjust in the "-" direction. If the bottom edge is wider, adjust in the "+" direction. Fine-tune while viewing the image from the front until all four corners are at right angles.
Confirm and save with the OK button
Once it's a rectangle, confirm with the OK button. The settings will be saved and maintained for the next startup.
For detailed instructions on remote control operation for the Q1, please refer to this dedicated article.
Keystone Correction Features of Each Aestiquo Model
Aestiquo Q1
- Vertical Keystone Correction: ✅ Supported (remote control operation)
- Horizontal Correction: ❌ Not supported (address by placing the unit horizontally)
- 4-Point Correction: Please check the product page
- Equipped with 270° rotating stand
Aestiquo P1
- Vertical Keystone Correction: ✅ Supported
- 4-Point Correction: ✅ Supported
- Equipped with 270° rotating stand
- Built-in Android TV
Aestiquo X26
- 180° Rotating Stand: ✅ Supported
- Electric Focus: ✅ Supported
- Keystone Correction Function: Please check the product page
Troubleshooting Checklist for Keystone Correction Issues
| Symptom | Cause | Solution |
|---|---|---|
| Distortion remains after correction | Projection angle is too large | Position the projector directly in front of the screen |
| Horizontal distortion cannot be corrected | Vertical correction only applies to up/down | Re-position the unit horizontally |
| Remote control is unresponsive | Dead batteries, blocked sensor | Replace batteries, remove obstructions |
| Image quality degraded after correction | Correction amount is too large | Adjust projection position to reduce correction amount |
| Edges of the image are cut off | Beyond correction range | Review projection distance and angle |
Tips for Installation Without Degrading Image Quality
Front Placement is Fundamental
Keystone correction is ultimately an auxiliary function. Placing the projector directly in front of and centered on the screen is fundamental to maximizing image quality. The less correction applied, the minimal the impact on image quality.
Utilize the 270° and 180° Rotating Stands
With the 270° rotating stand of Aestiquo Q1 and P1, and the 180° rotating stand of X26, you can support various installation angles such as ceiling, wall, and floor while minimizing the amount of keystone correction used.

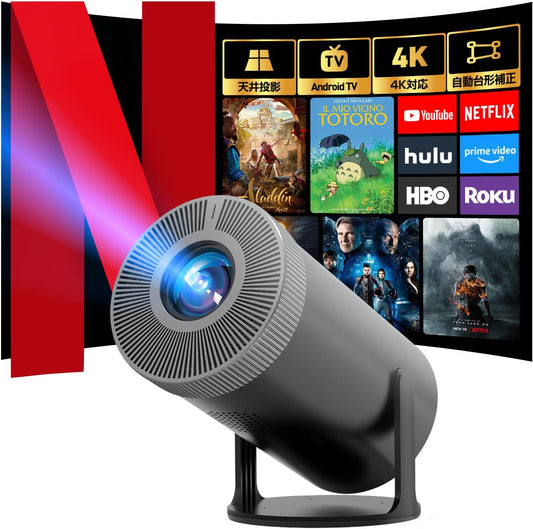
Aestiquo Q1 Projector | Vertical Keystone Correction, 270° Rotation, 1080P/4K Compatible
Easy vertical keystone correction with remote control. Excellent installation flexibility for ceiling, wall, and floor with the 270° rotating stand.
View Product Page →
Aestiquo P1 Projector | Vertical Keystone Correction, 4-Point Correction, Built-in Android TV
Supports 4-point correction in addition to vertical keystone correction. Achieves a perfect rectangular image in any installation environment.
View Product Page →